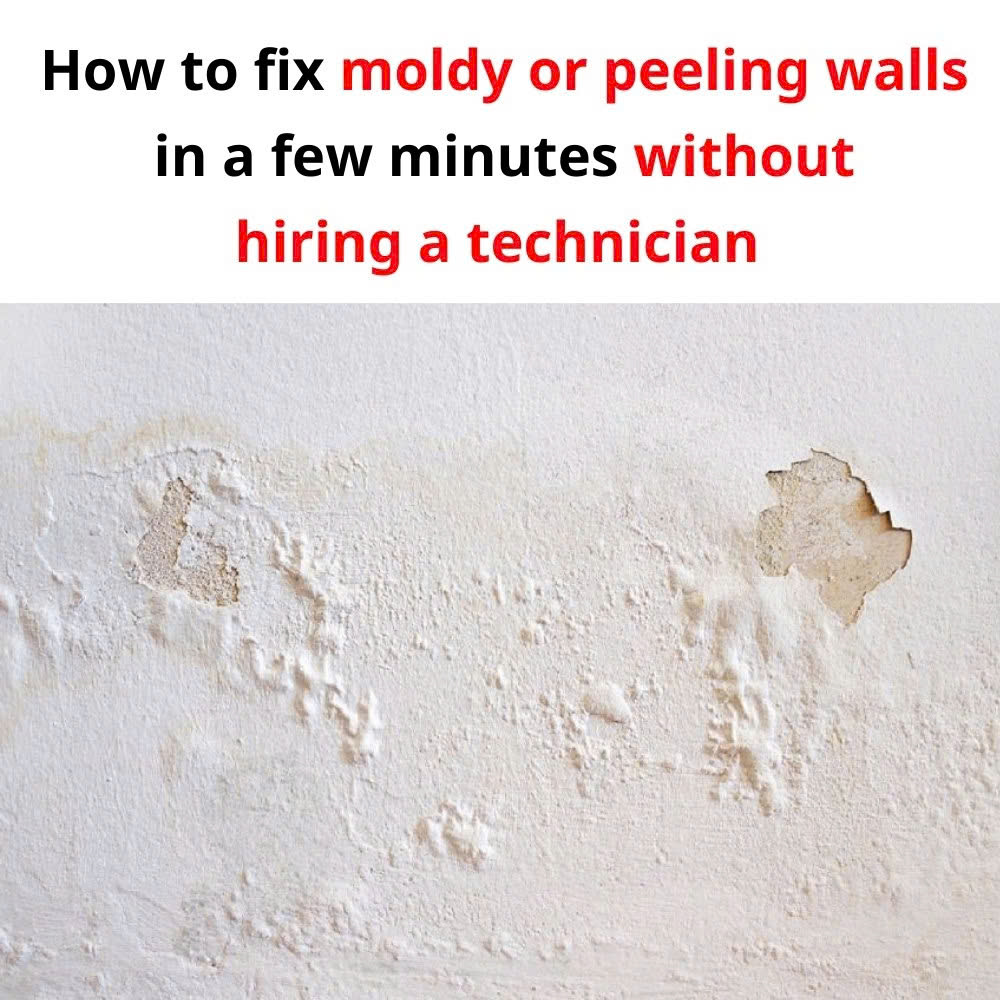
Over time, walls in your home can develop frustrating problems like mold, blistering, or peeling paint. These issues not only ruin the visual appeal of your space but can also pose health risks to your family, especially during humid or rainy seasons when moisture becomes harder to control. While calling a professional might seem like the most logical solution, many of these common wall problems can actually be tackled on your own with the right tools, a little effort, and a step-by-step plan. In this guide, we’ll walk you through simple and effective techniques to fix moldy, blistered, and peeling walls, helping you restore your home’s appearance without overspending.

1. How to Treat Moldy Walls
Mold on walls isn’t just unsightly—it can trigger allergies, worsen respiratory conditions, and spread if not addressed promptly. The first step is to remove any visible mold. Take a stiff brush or an old toothbrush and gently scrub the affected spots. Once you’ve brushed away the mold, use a soft cloth soaked in alcohol to wipe down the area. This helps prevent further spread and ensures the mold spores are neutralized.
Next, mix a bleach solution. For lighter mold infestations, use a 1:99 bleach-to-water ratio. If the mold is more stubborn, go for a stronger mix of 1:20. Pour this solution into a spray bottle and spray it directly onto the moldy patches. Let it sit for a few minutes before wiping it away with a clean cloth.
After the wall is completely dry, smooth the area with fine-grit sandpaper. This prepares the surface for a fresh coat of waterproof primer, which acts as a barrier against future mold growth. Always make sure the room is well-ventilated while using bleach, as the fumes can be harmful if inhaled.
2. How to Fix Blistering Walls
Blistered walls often result from moisture trapped beneath the paint, improper wall preparation, or poor-quality paint and filler. Start by carefully scraping off the blistered or peeling paint using a paint scraper. If poor-quality filler is part of the issue, remove it entirely and replace it with a high-quality alternative.
For smaller blisters, scrape away the damaged section, smooth the edges with sandpaper, apply a primer, and repaint the area. Larger blisters require more attention. Remove the entire damaged section, allow it to dry fully, and then reapply plaster. Once the plaster sets, smooth the area, apply a primer, and finish with a fresh coat of paint.
To prevent future blistering, address any wall cracks, leaks, or structural moisture issues before repainting. Avoid painting during rainy or excessively humid weather, as moisture in the air can become trapped beneath the paint. For consistent and reliable results, use primer and paint products from the same brand.
3. How to Fix Peeling Walls
Peeling paint is not only an eyesore but can also lead to sanitation concerns as debris and dust accumulate. Start by using a paint scraper to remove all peeling or loose paint. Once the loose material is gone, sand the edges of the affected area until smooth, then apply a primer before repainting.
For more severe peeling, you may need to remove the entire damaged wall layer. Treat the exposed surface with a high-quality primer and repaint with moisture-resistant paint.
To check the quality of the original wall filler, lightly spray water on the peeling area and scrape it with a paint scraper. If dust falls off easily, it’s a sign that the filler was of poor quality, and the area will require more thorough preparation before repainting.
For long-lasting results, always use high-quality paint products and ensure adequate drying time between coats.
Additional Tips for Long-Lasting Results
Proper wall maintenance goes beyond fixing visible damage. Preventing mold, blistering, and peeling in the first place requires addressing underlying causes:
- Keep Walls Dry: Regularly inspect and repair any leaks. Use dehumidifiers in moisture-prone rooms.
- Ensure Proper Ventilation: Areas like bathrooms and kitchens are especially prone to moisture buildup. Keep windows open or use exhaust fans to improve airflow.
- Regular Maintenance Checks: Don’t wait for significant damage to appear. Periodically inspect your walls for early signs of mold, blistering, or peeling and address them quickly.
Why DIY Wall Repairs Are Worth the Effort
At first glance, tackling moldy, blistered, or peeling walls might feel overwhelming, but with the right steps and a little patience, it’s a manageable task. DIY wall repairs not only save you money but also offer a sense of accomplishment. Plus, knowing that your efforts have directly contributed to a cleaner, healthier home is incredibly rewarding.
Beyond improving the look of your home, well-maintained walls help protect your property’s structural integrity and create a more comfortable living environment for your family.
So, grab your tools, follow these steps, and give your walls the attention they deserve. With a bit of determination and care, you can transform unsightly walls into beautiful, smooth surfaces that stand the test of time.
If you found this guide helpful, don’t keep it to yourself—share it with friends and family. Everyone deserves a home that looks great and feels safe!


